Monday, January 31, 2011

The 5 Minute Apron Tutorial

If I had to choose another name for this blog, it would be the Lazy Crafter
Because I am lazy
and crafty

This is also coincidently why I cling to my glue gun like it's the last raft on the Titanic (...too soon?)
Whoever invented the glue gun, my hat off to you.
You made my life a little more lazy, and I thank you for that

Now presenting.....

The 5 Minute Apron Tutorial
Time: 5 minutes (duh!)
Cost: 5-10 bucks
Difficulty: You can do this in your sleep

Materials:
Place mat
Ribbon 
Glue Gun
Embellishments

Step 1: Ribbons
Measure around your hips...Don't forget to leave room for a bow!! Using a stove burner, melt your edges (this will keep it from fraying)
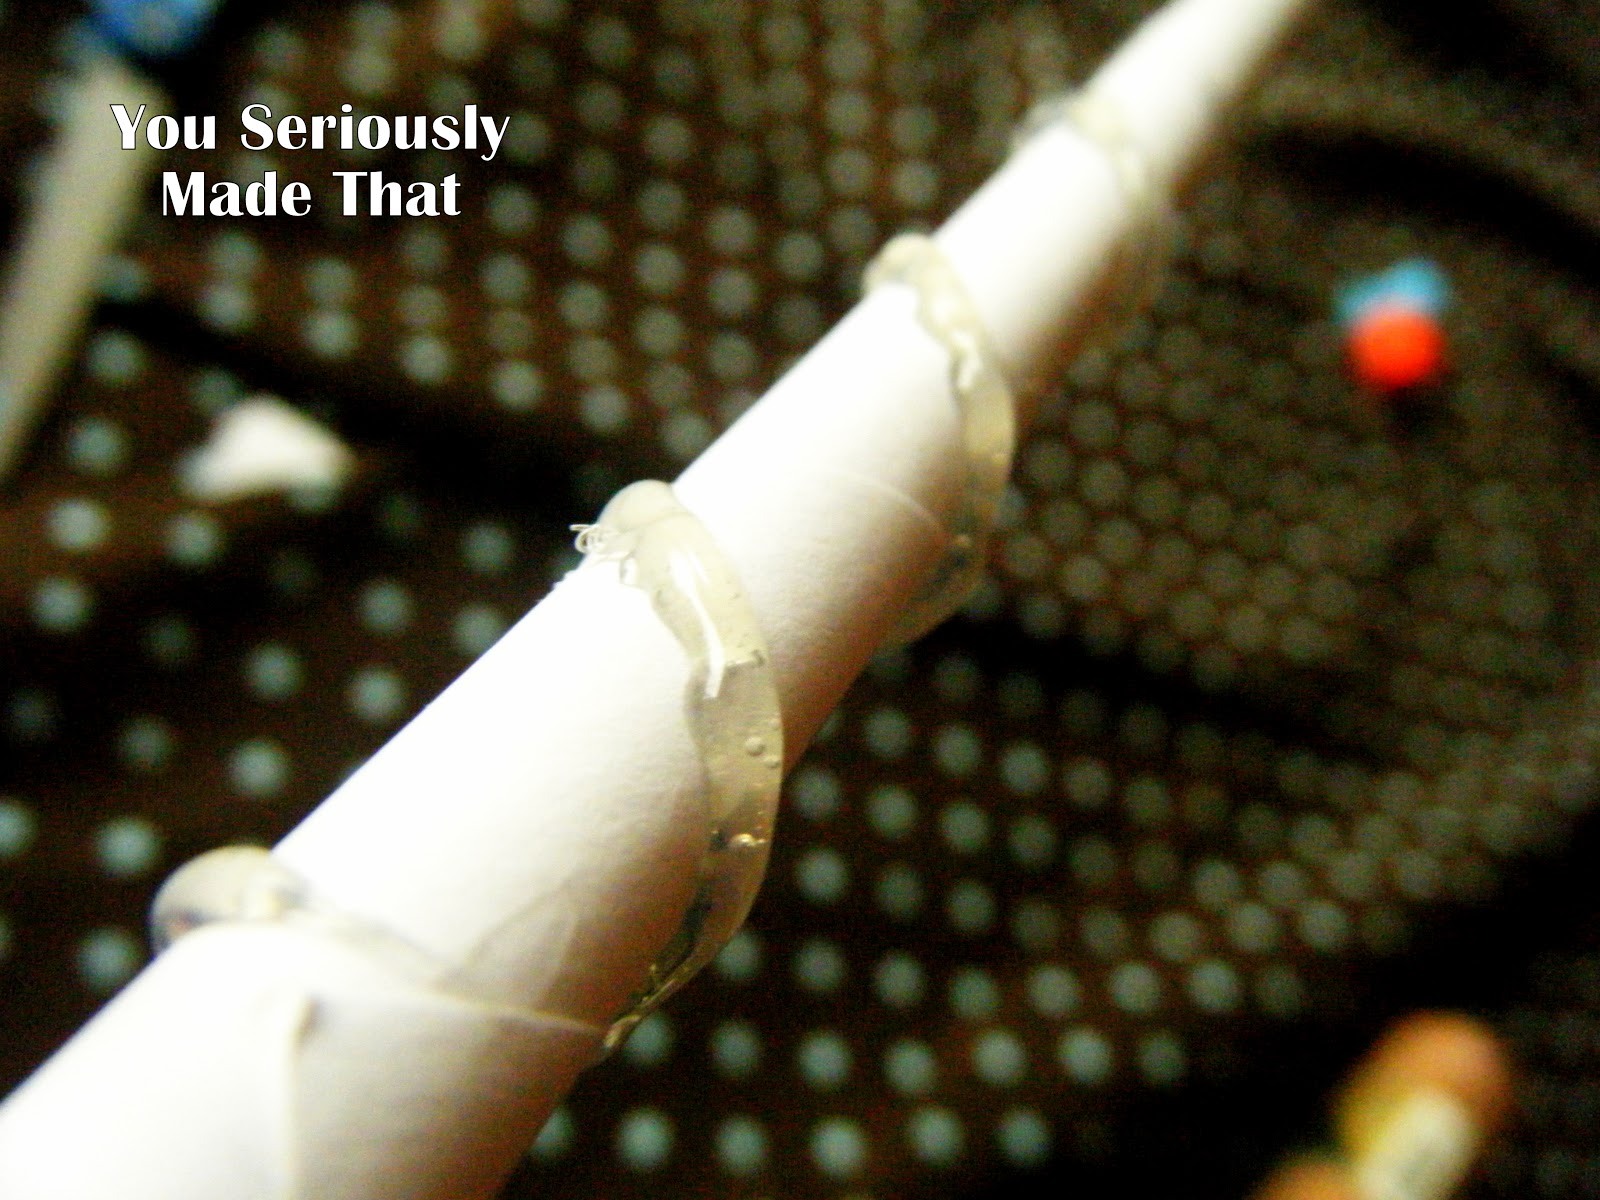
Step 2: Glue your Ribbons
Center the ribbon so it is equal on both sides. Grab your glue gun, and glue that puppy down. I tried only to glue the edges of the ribbon so it didn't look all bumpy.
Step 3: Wear it proudly
Yep. That's really it. I just threw a rosette clip on it for some added flair. 

Enjoy!

Saturday, January 29, 2011

BUTTONS!!

I LOVE buttons
One day, I could even see myself becoming a 
"Button Collector"
This worries my husband
He does not think "Button Collecting" is a very sane hobby. 
I disagree.

They are beautiful and colorful and oh so unique.
Derek really got into the buttons once we made it a competition
I'd find a button, then mix it into the group
and see how long it took him to find it again.

He was pretty good at it
So good that he wanted to keep playing

I think he found himself a good hobby.
Button Finding.

Which makes my "Button Collecting" sound much better

Thursday, January 27, 2011

In Case You Missed It: Rosette Bracelet Tutorial

In case you missed my guest post over at Kitty Cats and Airplanes, here is the my Rosette Bracelet Tutorial. :) Enjoy!


Rosette Bracelet Tutorial

 Difficulty: Easy
Time: 20 minutes
Cost: less than a dollar
Fun-ness: ABSOLUTELY!!

Materials
Size J Crochet Hook
100% Cotton Yarn
Fabric of choice
Yarn Needle
Glue Gun

Directions
Step 1: Creating a Chain
Create a Slip KnotChain 70 (or 75 for a larger wrist) and tie off, leaving a 5 inch yarn tail. Fold into 3 parts, leaving one side a little longer than the others (this will be used for the loop in step 2)


Step 2: Creating a Loop
Thread your yarn needle onto your yarn tail. Sew the tail through all three strands multiple times to connect them and form your loop. Tie off. 


Step 3: Making the Rosette
Cut your fabric into a 1 inch by 8 inch stripTwist the fabric into a tight strand, and then wrap into a rosette shape, hot gluing as you go. Hot glue the rosette onto a circular piece of felt


Step 4: Putting It Together
Using your glue gun, attach the center of the rosette onto the three loose strands (opposite of the loop). Make sure it is attached securely. 


And that's it!! You're done! Finito! Finished!
 And when someone comes asking, you can say 
"I seriously made that!"


Wednesday, January 26, 2011

Harry Potter Wand 2.0

Remember that time I told you that my husband loved Harry Potter?
And also remember that time I made him a wand (uhhh...yesterday.)
Well that little goober gave my wand back, and went out and made his own.
I didn't have much faith in his crafting abilities, 
but here is what was waiting on the dashboard as I got in the car this morning:
I had no idea.

How did he make it you ask?
Rolled up paper, wrapped in hemp, covered in brown tissue paper and Mod Podge. 
That little crafting prodigy. Who knew the boy could Mod Podge??

Monday, January 24, 2011

Harry Potter Wand Tutorial

I have a child in my house
who loves Harry Potter more than any child imaginable 
We have these:
And this: 
We went here:

And are going here: 
We have not just one but TWO hardback sets of this:


And THIS site is one of the most visited in our house

How old is this child you ask?
9? 10? 11?

Nope
He's 26.
And yes, 
I married him. 

So this is dedicated to him. The one who wishes Hogwarts was real...
but also secretly thinks it is.

The Harry Potter Wand Tutorial

 Difficulty: Super Easy
Time: 30 minutes
Cost: Free dollars and Free cents
Fun-ness: It's off the charts!


Materials
 Computer Paper
Tape
Glue Stick
Tissue Paper (to stuff in wand)
Glue Gun
Brown/Gold Paints
Paintbrush


Directions
Step One: Rolling Your Wand
Roll a piece of tape, and place it diagonally from corner to corner on your paper. Using the opposite corner, roll the paper tightly towards the tape until you get to the end of your paper. Then glue!
 

Step 2: Creating the Ends
Cut off pointed ends of the paper. Push some tissue paper completely into the hollowed inside of the "wand". Using the hot glue, seal the opening shut by making a rounded...blob. The color you choose will show through, even when you seal it with hot glue. Do this to the other side as well. 


Step 3: Hot Glue Designs
Okay, honestly, I didn't take any pictures of me DOING the step, because I only have 2 hands, and one had to be holding the wand, and one had to be holding the glue gun. That's just how the cookies crumbled. BUT this step is pretty easy. Just grab your glue gun, and start squeezing. It's like decorating a cake...but hotter.
Step 4: Painting
Grab your paint sets and cover this baby. Once you finish the brown, embellish with some gold paint. It looks best if you paint the bumps pretty good, and then lightly brush the rest of it. Don't forget to let it dry (I know, I know, you want to play with it...but you gotta wait!)
And that's it!
Check out this bad boy!

I am SUCH a good wife...sometimes.

Sunday, January 23, 2011

Blogger Award

Man, I feel like Cinderella with all of this blog housekeeping (get it? Because Cinderella had to clean all of the time? ehhhh??? Anybody.....)

Guess who got her first blog award? I'll give you a clue. She is weird, and likes to take pictures of herself. Don't know? I'll give you one more clue...her name rhymes with Whammy. Still don't know? Alright, last clue...she is....meeeeeeee


That's right! I got my first blogging award. And what's crazy is that I got it from THREE different people (How I bamboozled three people into giving me a "stylish" blogger award I'll never know. Super weird blogger maybe...) So thank you to Debbi from Diamond Grove, Iowa Farmer's Wife, and Erin from A girl and her Craft Box!

So the rules of the game are this: 
- Tell 8 random things about yourself
- Pay it forward to 8 bloggers you recently found
- Contact those bloggers to let them know about the award

Alright, tighten your seatbelts, because here are 8 things about me...
1. I have man feet. Size 11. The only cheap shoe store that regularly carries my shoe size is Payless, AND all of their shoes look like orthopedic shoes, or are high heels (come on Payless…if my feet are huge, do you honestly think I need high heels? I’m already 5’11…)
2. I ate an entire box of Milk Duds yesterday. My husband so nicely informed me that according to the nutritional facts it was ¼ of my daily calorie intake…good thing it tasted so delicious.
 
3. I used to be in “Improv Club” in highschool. I was one of the few token girls, but I held my own. Unfortunately, my sense of humor has only gone downhill… like a train.... full of bricks.... in Alaska.... SEE?!
4. I didn’t really get into crocheting until about 6 months ago. Up until that point I only knew how to crochet “scallops” around blankets. How did I learn? Youtube.

5. When I was in 8th grade, I made flash cards out of my mom’s old Mary Kay business cards with the names and faces of everyone in my grade. I studied them every night until I knew everyone's name by heart. I think it may have creeped people out when I knew their names... I thought it would make me popular. It didn’t.
6. My husband and I met in a Modern Dance class. He took it to impress a girl. I took it because I didn’t want to buy dance shoes.
7. During college, I spent the summers working over by Zion National Park. I took people on ATV tours, shotgun shooting, paintballing, zip-lining, rock climbing, fishing, and I even did archery. The tan line on my feet would last clear until the next summer.
8. I have a deep love and gratitude for my Savior. He has always stood in my corner during my hardest times. I will forever be grateful for his sacrifice for me. 


Now to pay it forward to my blog crushes
1. Nichelle at Vintage Wanna Bee - She has such a cute blog! Love it
2. Shauna at My Mix of Six - Shauna is this amazing mom that does amazing things and makes it look easy. I hope to be like her someday!
3. Jill at Meet the Dubiens - Jill's photos are beautiful, and she has fantastic projects to do with her kids. Plus, she has a "Fun Food Friday" that'll make you wish you were a kid again!
4. Lucy at Trey and Lucy - Lucy's blog is darling! Her pictures are so fun, and she has great tutorials! I absolutely LOVE it!
5. Caitlin at Sisters in the Kitchen - The design on this blog is fabulous. AND she did it on her own!! Plus there are tons of great recipes to try out!
6. Cher from Love Actually - Cher has tons of great ideas for continuing to date in your marriage. It is my go-to place for "romantic" ideas for my husband 
7. Liz from Ucreate with Kids - Liz and I were friends in college and she is HILARIOUS! I love all of her great projects for kids!
8. Jenn from A Home in the Making - Jenn is in the process of transforming their home! She is a great decorator, and it is fun to see all of the things she comes up with!