
I absolutely love making large receiving blankets for friends who are having babies.
They take forever to make, but so worth it. And oh so practical (which I love)
I'm too lazy (and cheap) to go get my blankets hemstitched, but with this tutorial, you will never need to hemstitch your receiving blankets again because I came up with a cute and easy solution...
okay okay, my MOM came up with a cute an easy solution. She's smarter than me anyways.
Crocheted Receiving Blanket Tutorial

Materials:
1 1/2 yards of flannel (fun print)
1 1/2 yards of flannel (corresponding print)
Sewing Machine, pins, scissors etc.
# 10 cotton string
Small Crochet Hook (size 1)
# 10 cotton string
Small Crochet Hook (size 1)
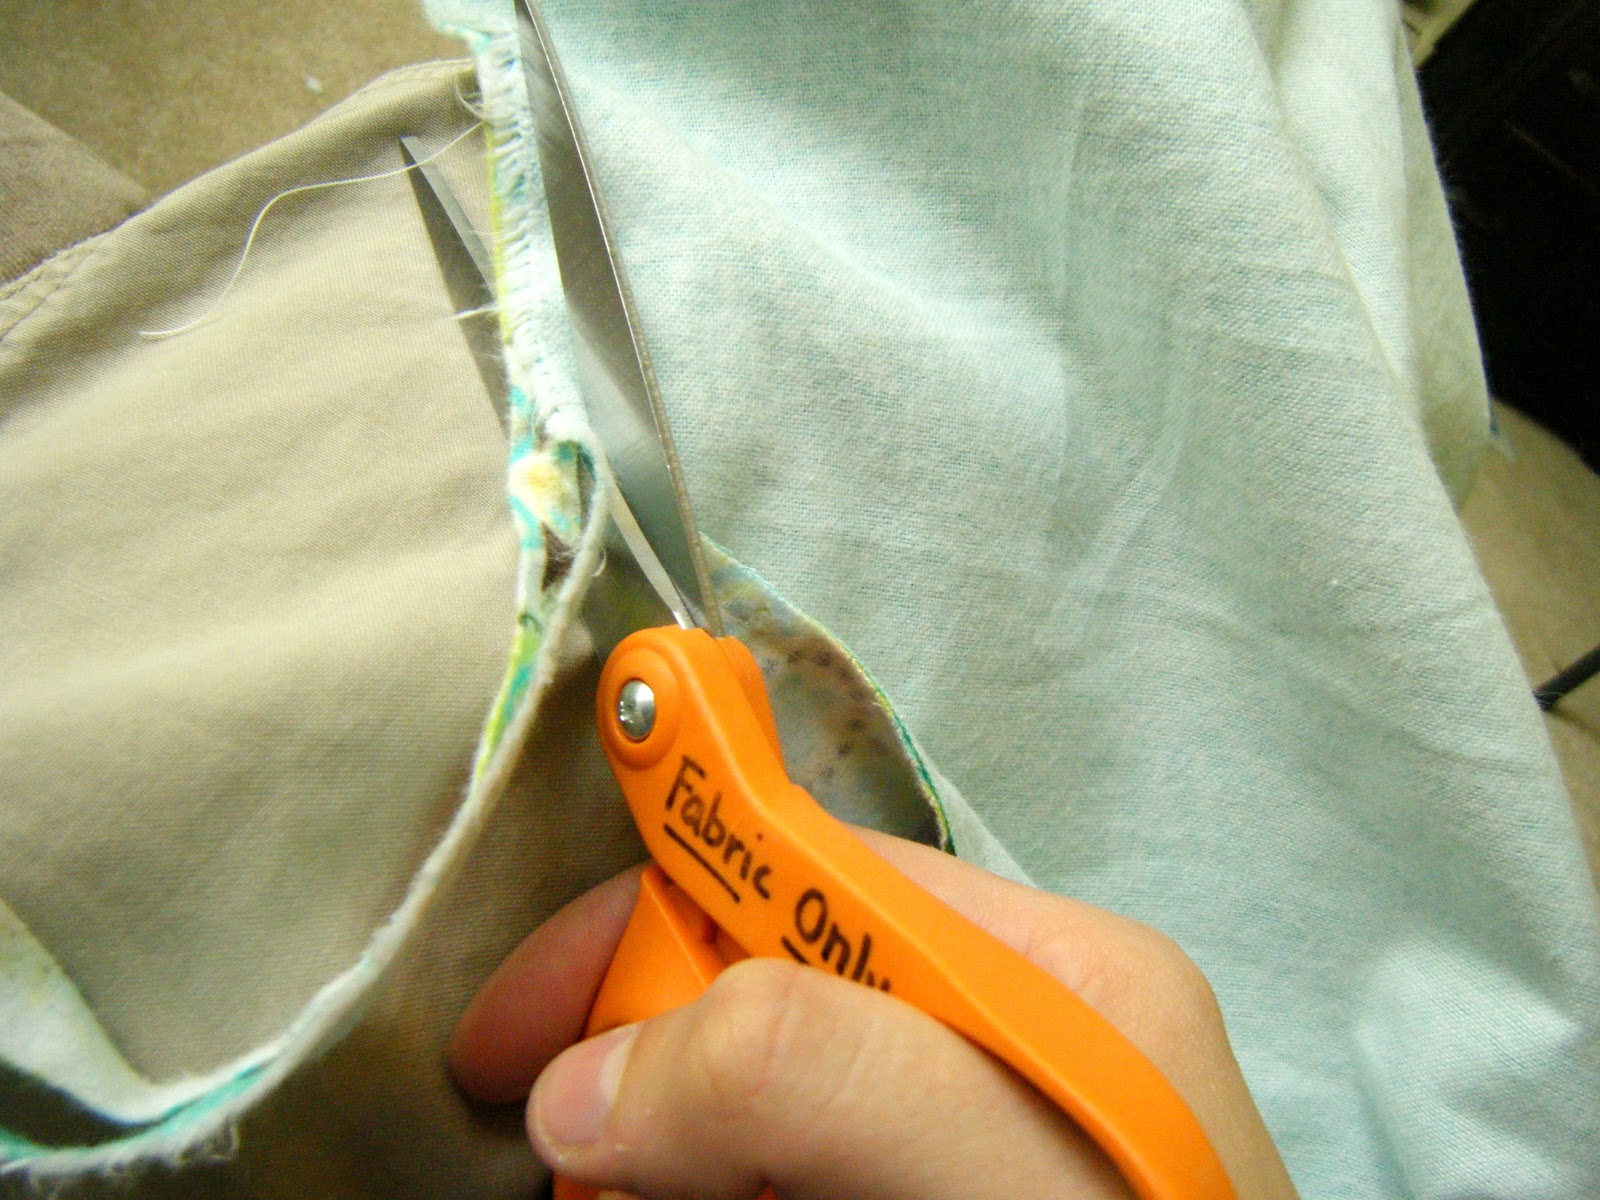
Step 1: Cut and Sew
Grab both pieces of flannel, and cut two identical large squares. Mine ended up 42x42, but yours can be bigger or smaller, depending on the width of your fabric. It's easiest when you use a rotary blade, but you can get away with scissors. Line up both pieces of fabric, right sides together, and pin it in place, and sew with a 1/4 inch seam. If you want a rounded edge, line a can up with the corners of the fabric, and trace with a pencil. That'll give you a good idea on where you need to sew. Once you've finished, trim, and cut notches into the rounded corners (makes it sit nice and flat once you've turned it right side out). Then turn it!


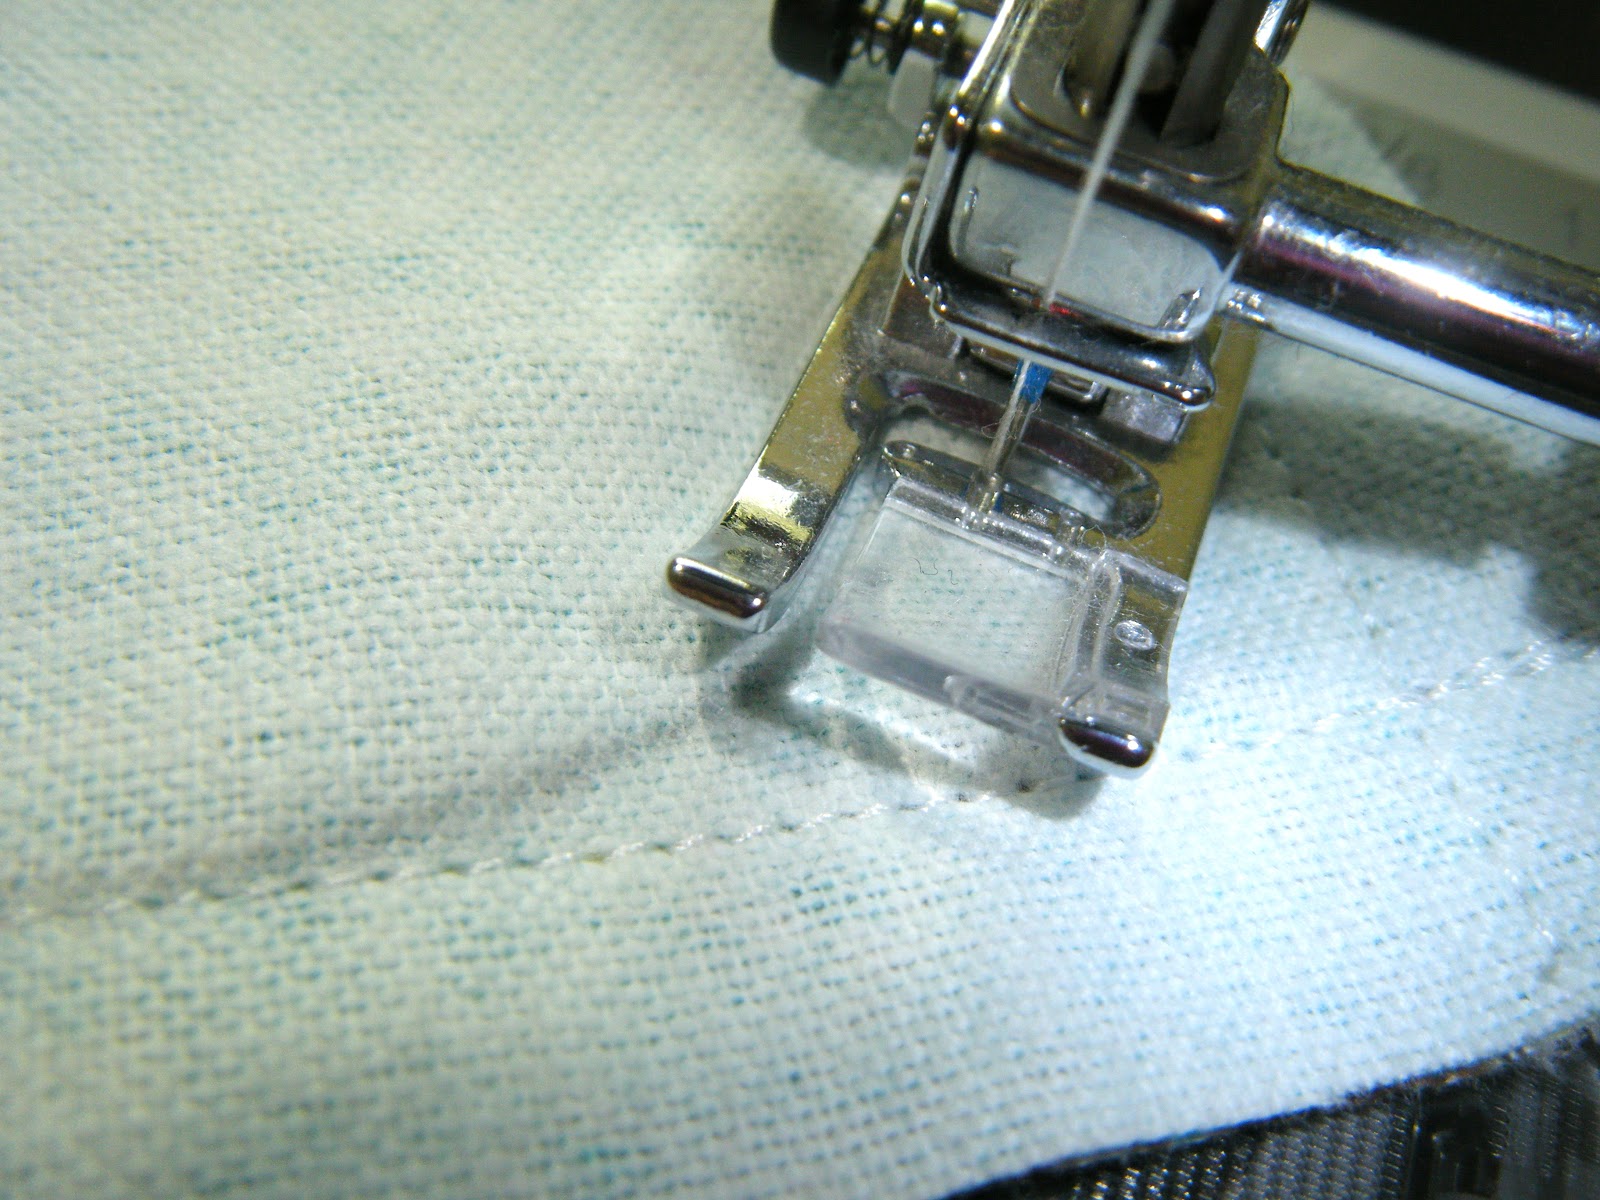


Step 2: Blanket Stitching
Before blanket stitching it, you're gonna need to iron all the edges nice and flat. Set your blanket stitch to the largest settings, and sew around the entire perimeter of the blanket. This will also stitch up the hole you left to flip the blanket. Grab your needle and thread, and use that machine stitching as a guideline (see pictures below for example). For instructions on how to create a blanket stitch, go HERE


Step 3: Crochet Edge.
Alright. Here's where we get a little complicated. There are TWO rounds or crocheting.
Round 1: 2 single crochets on each blanket stitch. Don't make tight stitches or your blanket will bunch up weird Sometimes I do 3 stitches around the corners. Totally up to you.
Round 2: 4 half double crochets, skip stitch, single crochet, repeat. This is gonna create a really cute shell stitch. At the end, tie off, and hide the ends of your string by weaving them into your crocheted shells.


Yeah..this is where most of my crocheting occurs...My husband HATES when I put my feet on the dashboard... but how else am I supposed to crochet?!


And that's it! Now you have the perfect baby shower gift, without having to get it hemstitched.
Now you too can waste hours and hours of your life like the rest of us crazy crocheters

17 comments:
Cami, seriously these blankets are so awesome! Kelsey still uses the one you gave her, and it will be passed down to her sister! I love swaddling my kids in this kind of blanket....they're so great and the perfect size! So thanks again friend!
Yay!! Glad you liked it!!
beautiful :)
Very cute...i was crocheting in the car today too...tho i did keep my feet on the floor, well I was balancing things on my lap too.
ooooh!!!!!!!!!!
Thanks a lot for this tut !!!!!!!!!!
Thanks for the tutorial! My friend made a blanket like this for one of my kids and it was my favorite blanket ever! It was also the blanket that got the most compliments. Now I can make them for my friends! Thanks again!
Great! Thanks a lot Cami... Now I'll have to start thinking about a baby number two just so I can get one of these from you! ;)
How lovely!
Thanks for linking to a Round Tuit!
Hope you have a great week!
Jill @ Creating my way to Success
http://www.jembellish.blogspot.com/
Wow - I'm speechless. Beautiful blanket and the trim is amazing. My favorite - the pic of your feet on the dashboard. I would love for you to share this project at my linky party.
http://carolynshomework.blogspot.com/2011/06/inspiration-board-link-party_21.html
Thanks for the creative inspiration.
carolyn | homework
Hi there- found you through the Masterpiece Monday hop and am a new follower. This is so sweet! I have been looking for a simple edging to the baby blanket I have been working for for...um...4 years? Maybe I'll get it done now! I hope you have time to follow my life in South Africa by http://withoutcomplexities.blogspot.com
Have a great week!
Very adorable! But, do be careful putting your feet on the dash - if the airbag were to go off, you would dislocate both of your hips and that wouldn't be very fun (although, you would get a ton of crocheting done while in bed recovering!). :)
I loved the tutorial! I made some pj's for my daughter & used this edging, they are adorable!
Way cool! Some extremely valid points! I appreciate you penning
this write-up and the rest of the site is extremely good.
My blog post :: quantrim tablets
Hello there! This post could not be written any better!
Reading this post reminds me of my good old room mate! He always kept chatting
about this. I will forward this write-up to
him. Fairly certain he will have a good read. Thank you for sharing!
Here is my web-site ... ingredients of quantrim
Heya i'm for the first time here. I found this board and I find It truly useful & it helped me out a lot. I hope to give something back and aid others like you helped me.
Here is my blog; quantrim fast track formula
Ahaa, its nice discussion about this post here at this webpage, I have read all that,
so now me also commenting here.
Also visit my blog post: buy quantrim
That is a good tip especially to those fresh to the blogosphere.
Brief but very precise info… Thank you for sharing this one.
A must read post!
Here is my site quantrim
Post a Comment