Last night, I was dinking around on etsy, and I discovered this adorable headband pattern. I was SO tempted to buy it, until I realized, "HEY! I can figure it out myself!" After realizing how easy it was, I've decided to share it with you! In my very first tutorial:
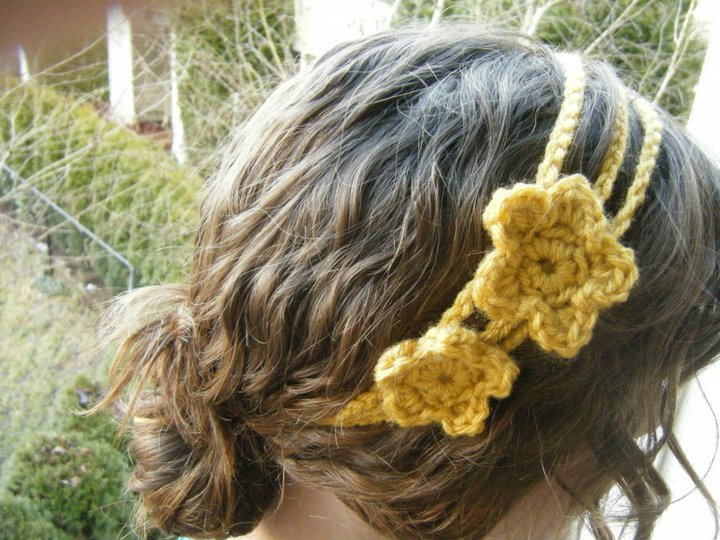
The Sweet Little Headband
Difficulty: Easy
Time: 30minutes - an hour
Fun-ness: Fun-o-rama
Materials:
* Size J crochet hook
* 100% cotton Yarn (I used Sugar and Cream Brand)
* 1/2 inch wide ribbon
*Glue Gun (or equally strong adhesive
* Sewing Needle and thread
* Yarn needle
Directions:
Part 1: The headband!!
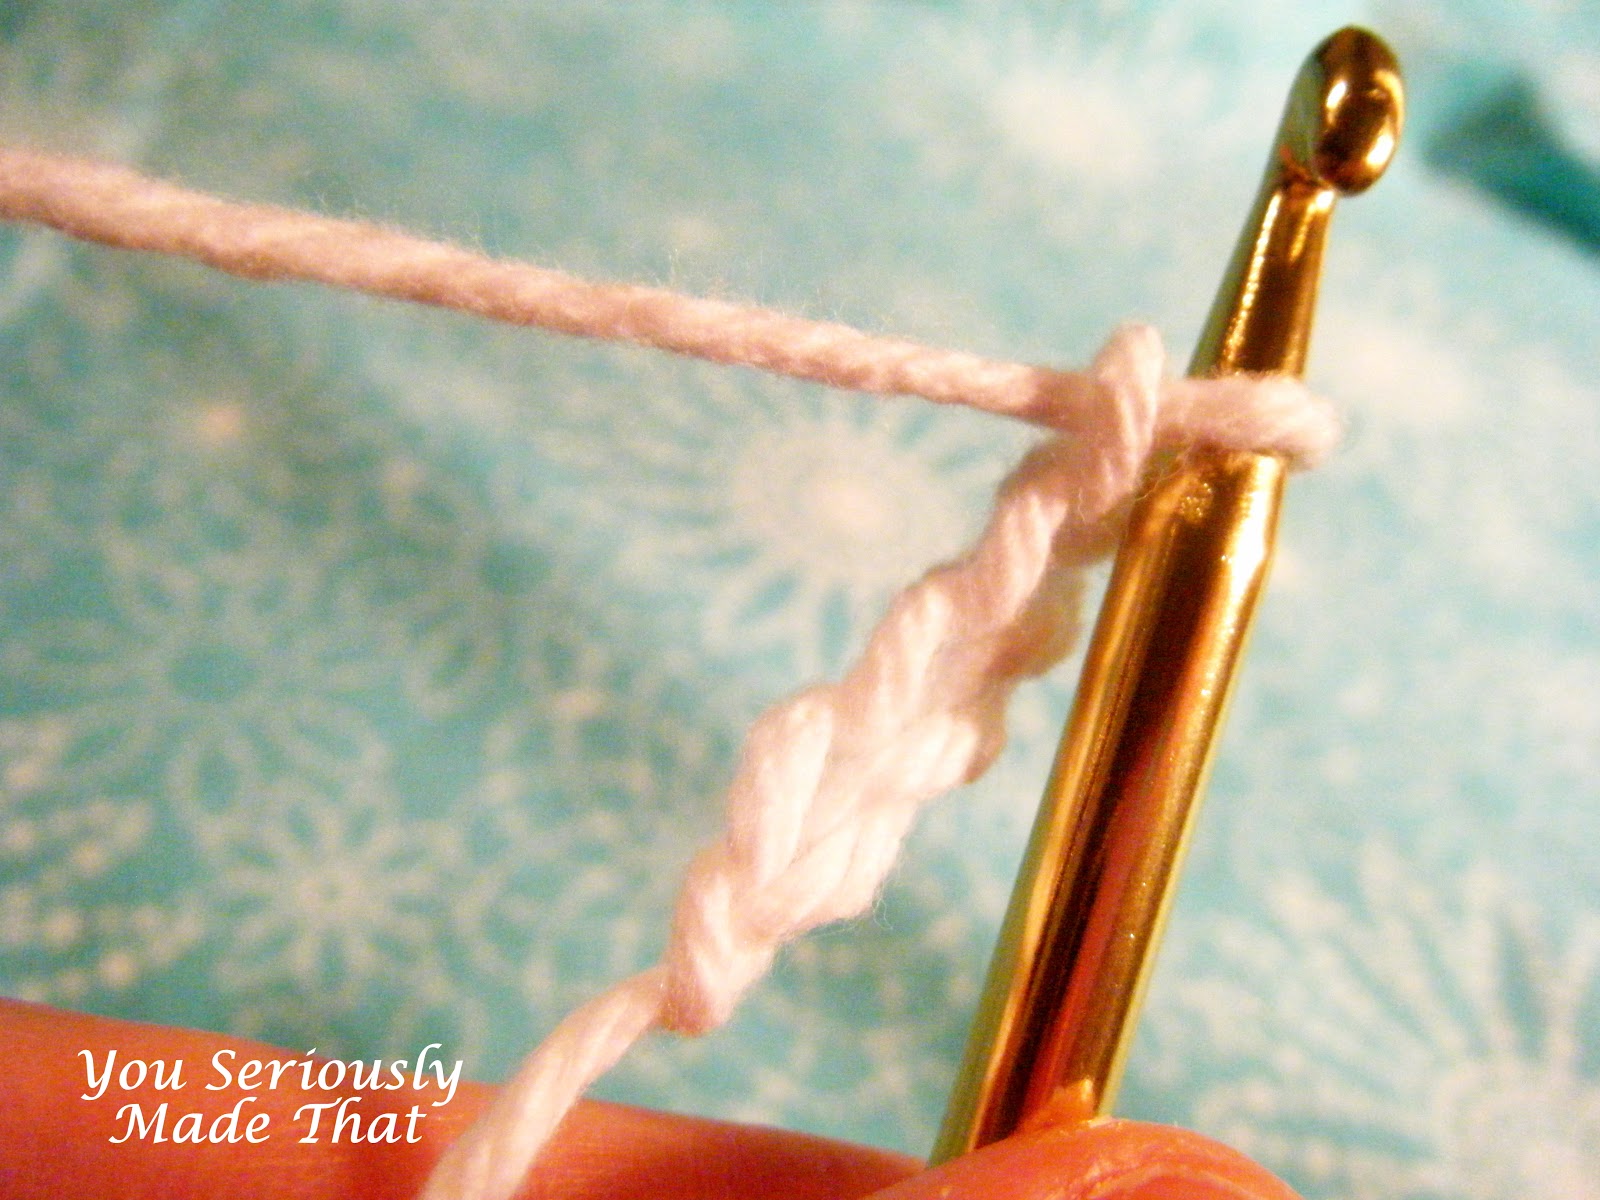
Step 1: Making your strand
Take your yarn and crochet hook and chain 175 (150 for a smaller head) stitches. Make sure to leave a 8 inch yarn tail on each side of the chain to help in sewing it together later. This chain will serve as all three strands of your band. Tie off and fold the strand into thirds.
Step 2: Creating 3 bands
Squeeze the three pieces together at one end, and using the yarn tail, sew the 3 pieces of the band together. You will be using a yarn needle for this step. After the ends are tight and secure, tie off, and cut off any excess yarn. Repeat on the opposite side.
Step 3: Prep the Ribbons
Cut two 15 inch pieces of coordinating ribbon. To keep from fraying, slightly melt one side's edge using the stove top burner (if you do both sides, it makes it hard to attach to the band later). Repeat on the second piece of ribbon.
Step 4: Attaching the Ribbons
Taking your un-melted ribbon side, fold over a 1/8 inch seam and hotglue it down (or sew...whatever you prefer). This will create a finished look on your edge. Taking your crocheted band and wrap the ribbon width wise around the band and hot glue it down (once again, if you prefer to sew, be my guest...I'm just more of the "get it done quick" type). Repeat this process with the second ribbon.
Step 5: Creating a finished and secure look
In order to create a finished look, cut two 2 inch pieces or ribbon. Fold over both ends, and create an 1/8 inch seam using my favorite tool...the hot glue gun. Next, fold the entire ribbon in half...hot dog style...and glue it in place. Last, wrap it around your already attached ribbon, gluing it down as you go, to create a "cap" look. This will also help to further secure the ribbon to your band. Repeat this process on the other side as well
Part 2: The Flower!
**The following instructions are based on the assumption that you already know the basics of crocheting. If you are trying it for the first time, here is a good video to help you with the basics as you follow the tutorial.
ch: Chain
sk st: Skip Stitch
sl st: Slip Stitch
sc: Single Crochet
hdc: Half Double Crochet
dc: Double Crochet
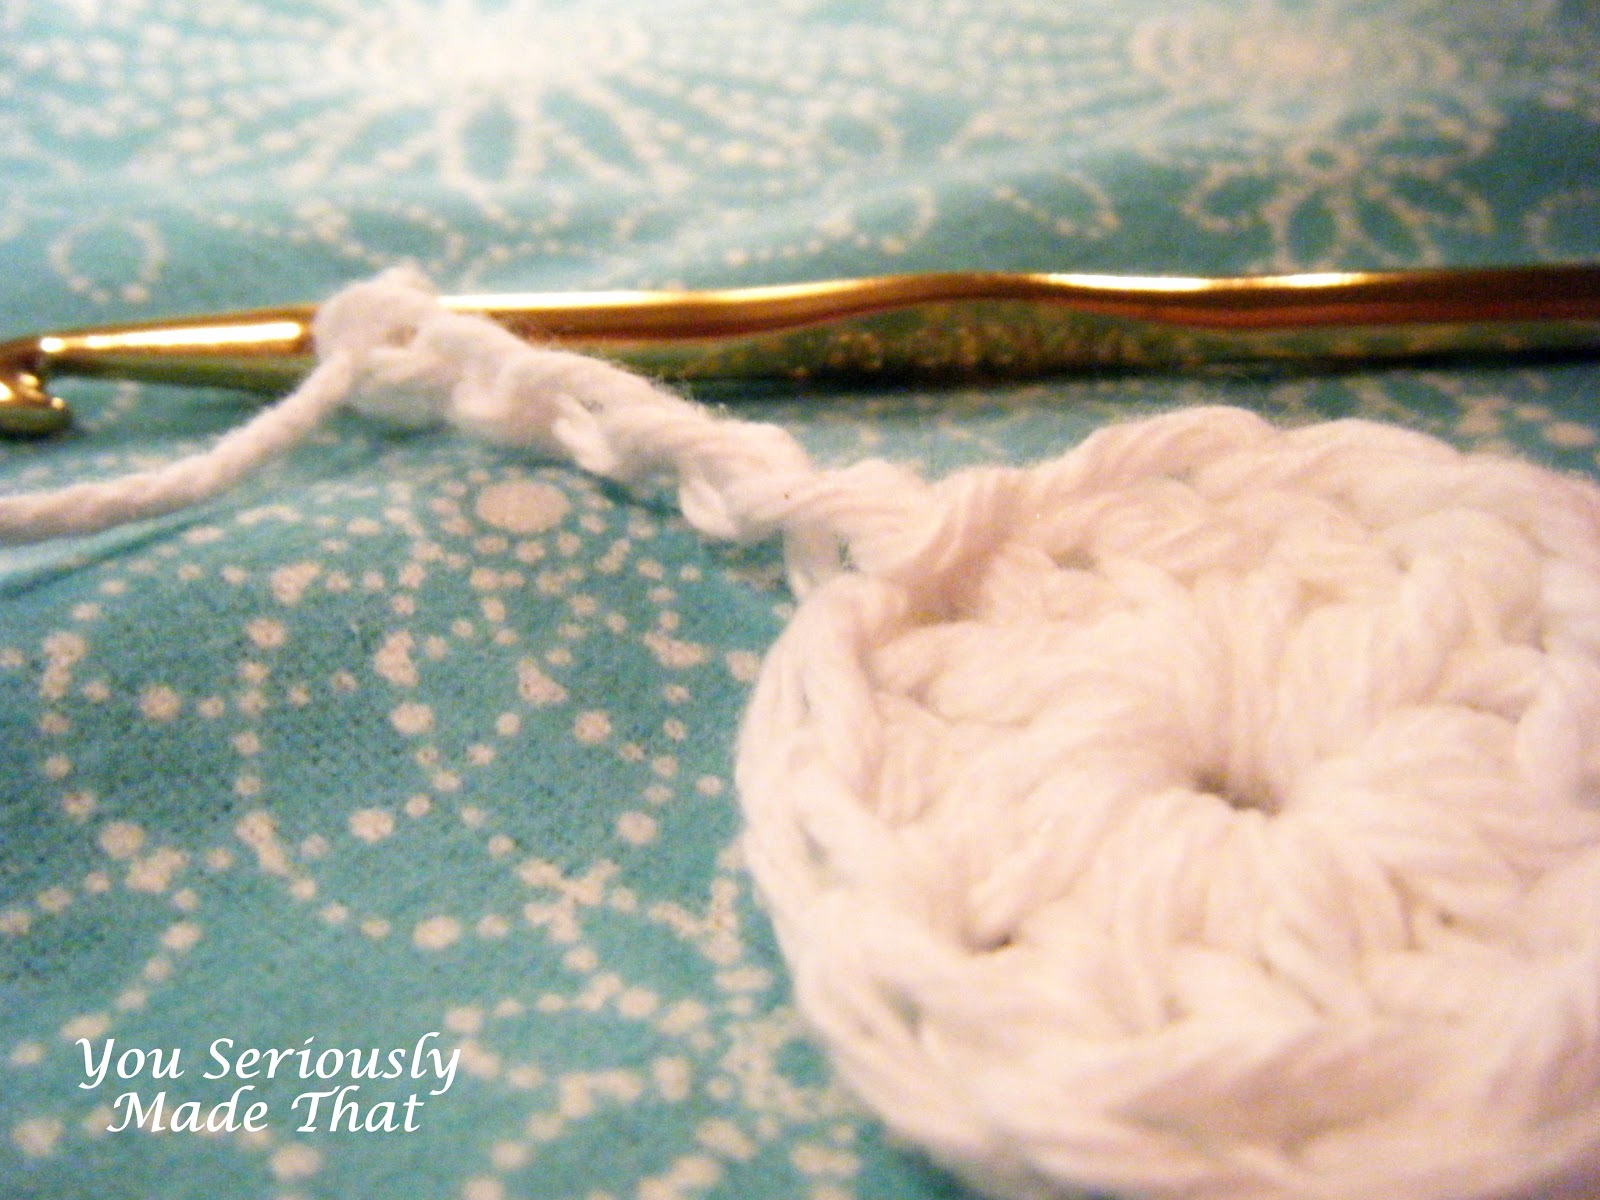
Step 1: Creating a Base
To start off, you will need to ch 4, and sl st into the first worked ch in order to create a small circle.
Ch 2 (this will serve as your first dc), and then dc 11 times into the center of the small circle. Sl st to finish the base off.
Step 2: Creating Flower Petal Base
Ch 5, sk st, and dc into the next stitch. This will create a loop to crochet your petals onto. Ch 3, sk st, and dc into the next stitch. Continue until you have a total 5 loops and 3 chains. To end, sl st to the first worked chain.
Step 3: Creating the First Round of Petals
Into the first loop, complete the following stitches:
sc, hdc, 4 dc, hdc, sc
This will create one petal. Repeat these stitches on the remaining 5 loops.
Step 4: Creating a Second Round Base
Sl St down to the bottom circle, right between 2 of the dc (from step 2). ch 4, sk st, and dc into the next ch st. This will create a loop for your second round of petals. ch 2, sk st, dc into next ch st. Continue until you have a total of 5 loops and 2 chains. sl st into the first worked chain to create 6 loops total
Step 5: Creating Second Round Petals
Into the first loop, complete the following stitches:
sc, hdc, 2 dc, hdc, sc
This will create one petal. Repeat these stitches on the remaining 5 loops. Tie off to finish. (Work the yarn tail into the flower using a yarn needle)
Step 6: Finishing it all off
Close up the flower's center using the yarn tail closest to the center. String on a yarn needle, and pull the yarn around the entire circumference of the opening. Pull tight to close. Tie off, and cut the remaining tail.
At this point, you have two options, You can hot glue the flower onto an alligator clip so that you can take the flower on and off the headband. Your second option is to hot glue or sew the flower onto the headband (I chose this option, and it is pictured below). You can do whatever you fancy...
And there you go...you're done!!
Now you can enjoy your hard work, and every time someone asks "Where did you get that cute headband" you can proudly say "I made it!"